Written By:
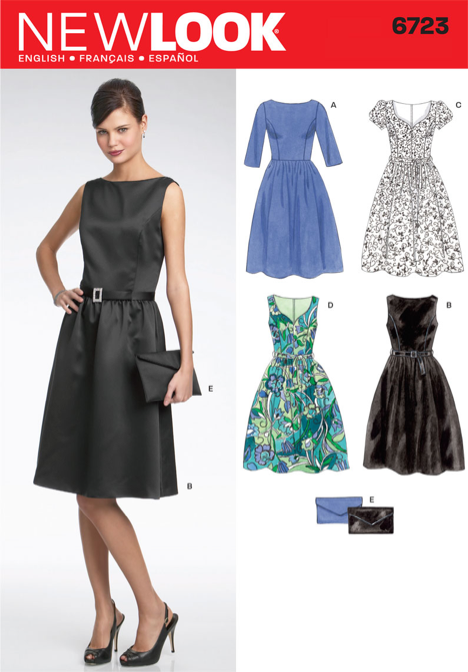
I’ve discovered that many of my Moxie readers don’t sew and for my latest dress, I thought you all might enjoy seeing a step-by-step pictorial of how a dress gets put together. I decided to make New Look #6723 because I liked the idea of a sweetheart neckline and my body fits well into dresses with princess seams. After the Summer Solstice Dress, I was not terribly interested in making a ton of pleats and this one has a gathered skirt. Adding pockets in the skirt side seams was also a snap. I followed the instructions of the pattern and only lined the bodice, using leftover cotton from the existing yardage. For this pattern, I made view D — sleeveless with the sweetheart neckline (minus the tied sash).
1. Fabric is pre-treated, which means I put it all through a wash & dry cycle as I would want to launder my final garment. This helps reduce any change in size after the garment is made because there is invariably some shrinkage the first time some fabrics are washed and dried.

2. I prep the pattern pieces by cutting them all out very carefully.
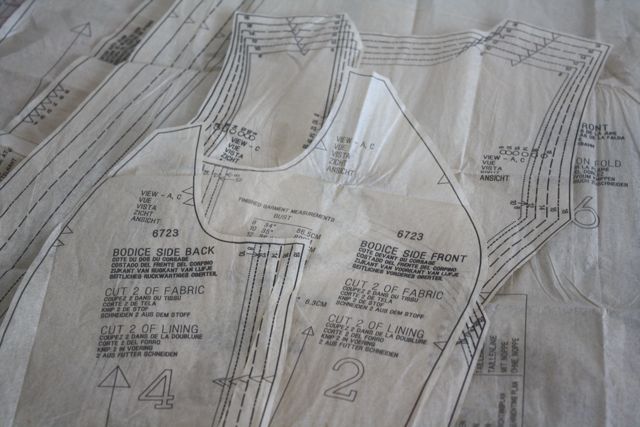
3. Everything gets a fresh press, both pattern pieces (on a low setting, no steam) and the fabric I’m using (for this cotton, a hot iron with steam).

4. I further prep my fabric by aligning the grain with the fabric right sides together, selvages matching. If I need to true up the raw ends to help me when I lay out the pattern pieces, I do that as well.
5. All of the pattern pieces get laid down on the fabric so that I can make sure they will all fit across the total yardage. Then I carefully measure the grain lines against the selvages to make sure everything is on grain as it should be. Lots of pins go into the pattern pieces through both layers of fabric.
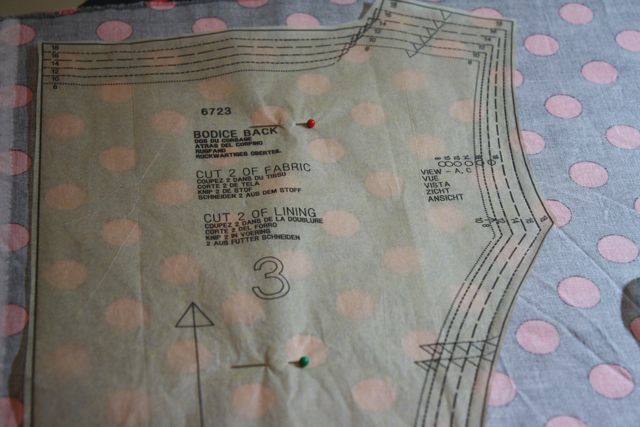
6. I trace my pattern pieces & transfer all markings. Note: It is true, I do use a waxy transfer paper that some seamstresses do not like (or only use on a toile). I prefer to think that I am quite meticulous about my cutting. I take my time to trace the pattern pieces and then I take my time to cut them all. And yes, I do use the waxy transfer paper on my final fabric because I really cannot stand the chalky paper that I find utterly useless (but I use tailor’s chalk or water soluble chalk pencil lines for darts).
7. I cut every piece. Slow and steady wins the race. If there are a lot of pieces in a pattern I definitely lose patience quickly, so I often take a lot of breaks when I cut fabric. To me, this is one of the most tedious parts of the sewing process.
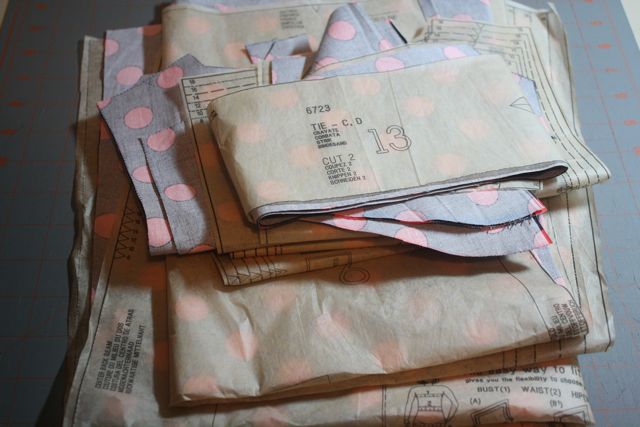
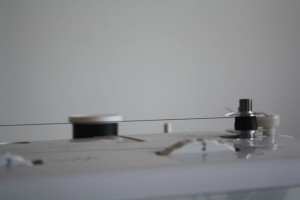
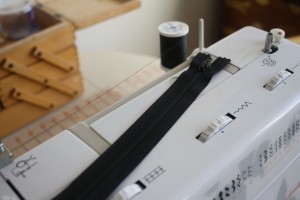
8. Now I prepare my notions — I wind my bobbin thread, locate my zipper, and any other bits like hooks and eyes or buttons are located so that I feel organized.
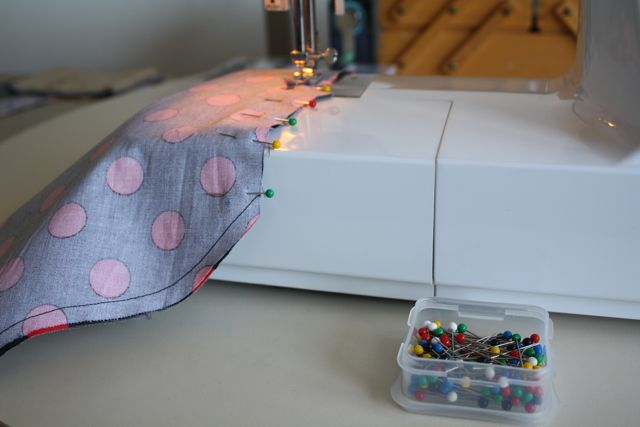
9. Following the pattern instructions, I stitch! This is my favorite part–there is something about stitching that makes me feel very industrious and I love it. Stitch & press, repeat, repeat, repeat. It’s very meditative and the rhythm of sewing clears my mind and I swear I can feel my blood pressure drop into the Ohm Zone.
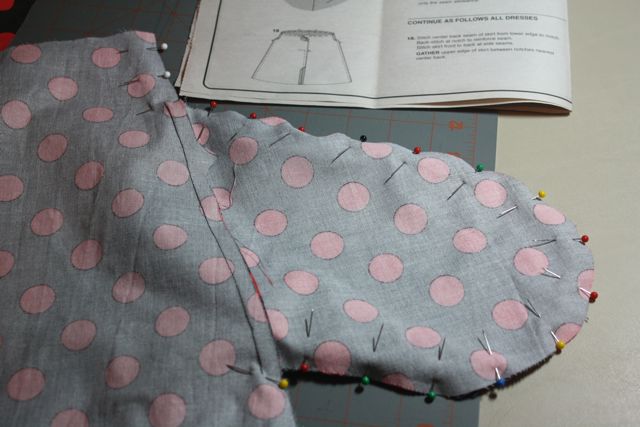
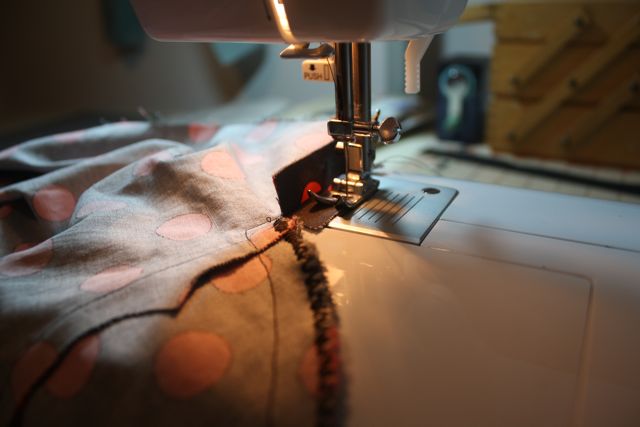
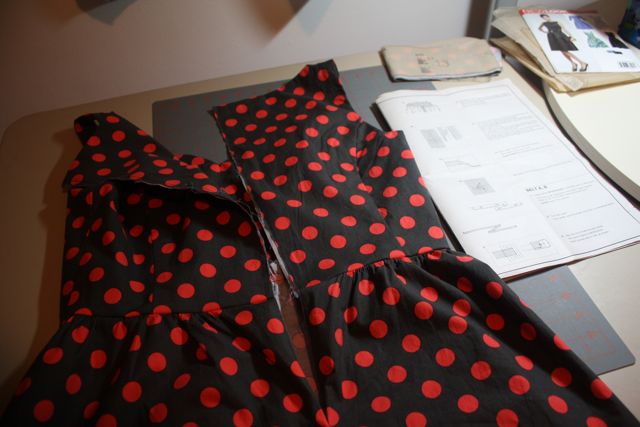
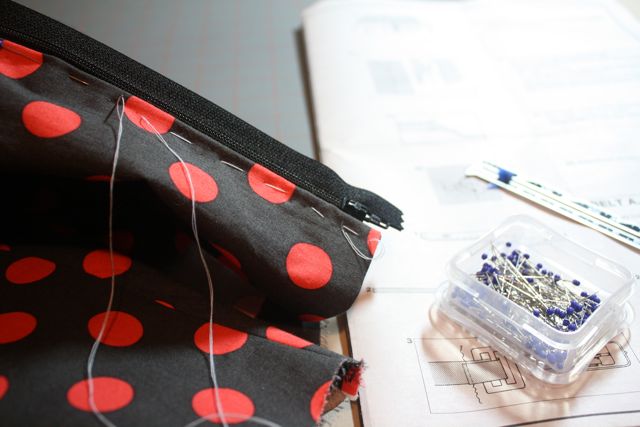
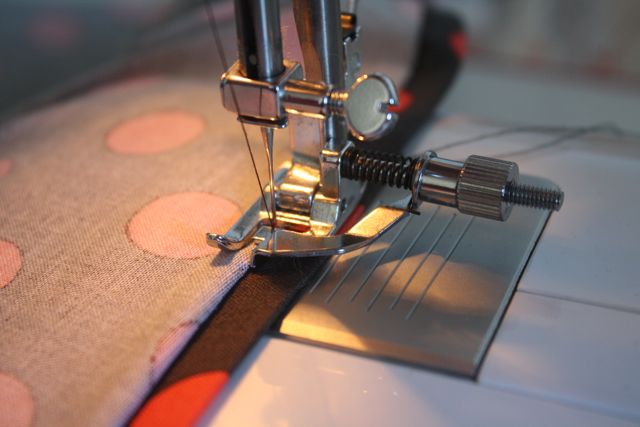
10. I let Mr. Giles inspect my work to make sure it meets his approval.
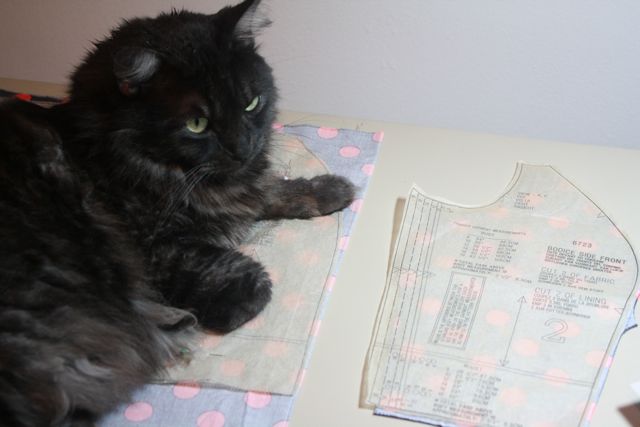
11. I finish the garment by double checking my hems, pinking the raw seams (if I haven’t edge finished them already), and I give the dress a fresh press with the iron to smooth out any wrinkles from the sewing process.
12. When I try on my dress, I’m totally amazed it fits! You might remember a recent blouse that did not fit when it was near completion (stake through my heart!!) and it’s one of my worst fears. If I make a toile, it’s usually to work out some big alterations — making a toile doesn’t make me feel any more secure when I sew the final garment. Part of me is always convinced I’ve mucked it up and it’s not going to fit. I don’t think that worry is something I will ever really banish from my mind.
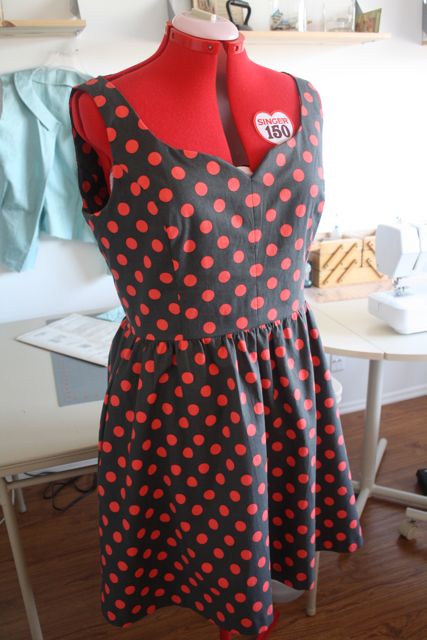
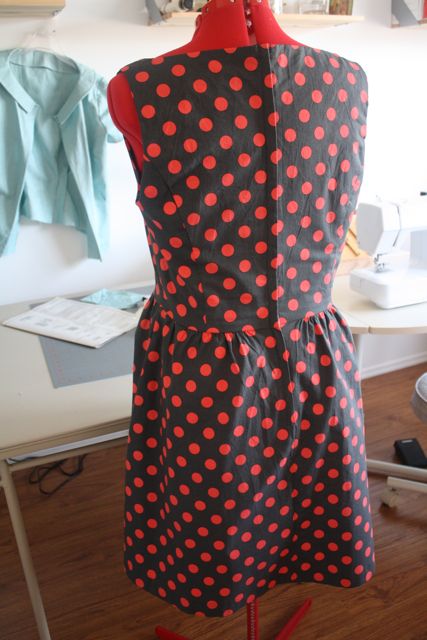
Then I wear my dress around town! I love a swishy new dress that fits me well and makes me feel like a retro princess. The best compliment is always when a total stranger stops me to compliment my dress–that’s when I know I’m a real stitch witch! I will have pictures of me wearing this dress soon… stay tuned…
Things I like about New Look #6723:
- It was very easy to make and after doing some rather complicated projects recently, this one felt easy (although it is not labeled as such on the envelope).
- The sweetheart neckline is a nice design detail and it adds a little something extra special.
- The gathered skirt is just full enough, so I don’t feel too much pouf in the skirt with such a bold print that can get very Minnie Mouse very quickly.
- It’s a very comfortable dress! The princess seams hug the natural curves of my body in a way that often makes me feel pinched when a bodice has darts.
Things I don’t like about New Look #6723:
- It doesn’t come with pockets but you know I’ll add them anyway! It’s very easy to do with clear and simple side seams in the skirt.
- I don’t have patience to sew a slip stitched hem, so I substituted a blind hem instead.
- The upper back gapes quite a bit, so if I do this pattern again I will likely make a toile so that I can experiment with neck darts. You should know I’m discovering this is a general fit issue for me but it was particularly pronounced with the finished dress in this case. Easily fixed with a comfortable cardigan for the time being!
- I did not make the fabric self-belt because, as I mentioned above, the polka dots threaten to turn me into Minnie Mouse and I felt that a sash would look far too cutesy for the cotton print.
I wore this dress on a travel day (traveling for business) and it was very comfortable and fun to wear. There’s nothing like an upbeat cotton print to add some fun to the drudgery of airport security lines. What do you all think? Are the polka dots fun or what? By leaving a comment you will have a chance at winning a National Sewing Month Giveaway! You will have until Tuesday, September 25 11:59 EST to submit your comments.
About Mary Ann Williams:
I am a digital librarian and archivist by day and a sewing blogger by night. (Read my inaugural blog post about me here: http://wp.me/p2IaeS-I.) Sewing is a passion that I love to share with the world and I found so many people asking me where to find resources around Los Angeles, I decided to use my blog as way to index as many Los Angeles resources as I can find while on my own journey. Sewing and blogging has been a way for me to discover my voice in the world and I think everyone should feel that they can add some classic elements into their wardrobe with a frugal price tag and a handmade touch. I am so excited to be included in National Sewing Month. I encourage readers to subscribe via email or Facebook for regular updates and upcoming giveaways… the fun continues after National Sewing Month on School of Moxie!
